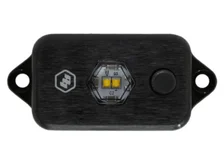
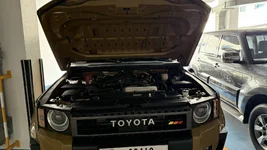
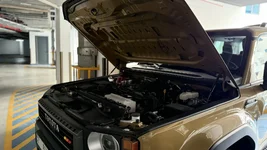
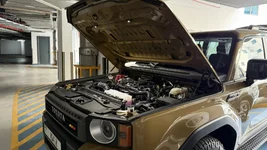
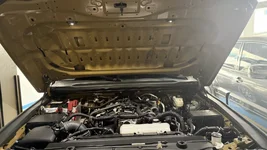
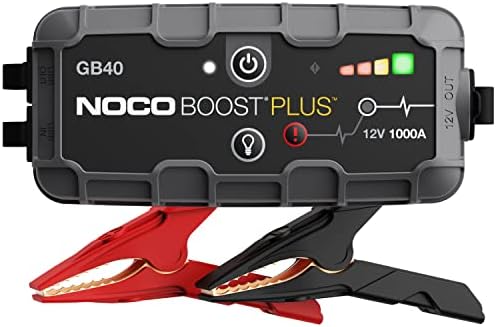
Installed the Baja Dome Lights under the hood for the engine bay. Simple Fix. One hour at most. Connecting the wires from the hood slots to the Main Battery with a built-in fuse. I didn't want to use a double-sided tape since it would get too hot because of the turbo engine dissipating heat. So, use a 2mm bolt to drill and bolt the lowest part of the hood. And its like daylight when switched on.
Got everything all painted and installed yesterday. I ordered the bare metal versions and I’m glad I did. The welds in a few areas were a bit much so I took those down. I’m also not a fan of repairing powder coat so I opted to paint them with Truck bed liner. I sprayed the bars and rolled to top plate to give it more slip resistance. I’m happy with the turnout.
Disregard my chaotic work bench, I have a few projects going on simultaneously.
Added more light. installed a 40" Stedi ST2K Curved on the roof rack. This bar is aimed to light up the mid-long range scene and fits perfectly. little to no glare on the hood, in fact i get more glare from my pods thats aimed outwards than i do from the bar up top. I have attached a quick video of it in a residential area - but will be taking on the desert tomorrow night and will share some more shots then.
Got everything all painted and installed yesterday. I ordered the bare metal versions and I’m glad I did. The welds in a few areas were a bit much so I took those down. I’m also not a fan of repairing powder coat so I opted to paint them with Truck bed liner. I sprayed the bars and rolled to top plate to give it more slip resistance. I’m happy with the turnout.
View attachment 42016 Disregard my chaotic work bench, I have a few projects going on simultaneously.
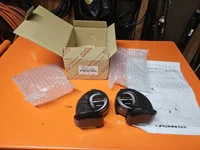
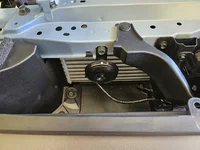
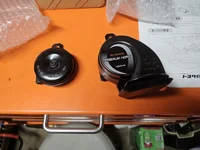
Installed my Premium horns (Toyota 08522-60010) today. Ordered on July4 from Japan, received them today, July 10. Total cost was $77.75 delivered on EBay. The install took about 15 minutes, only needing a 12mm socket. Sounds great, just what I wanted to hear. Pics below of old and new horns.
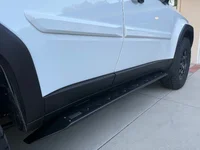
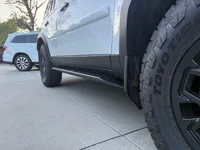
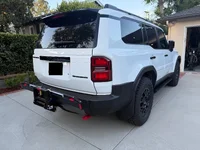
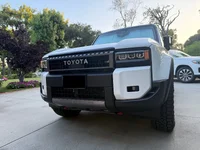
I installed a set of NYTOP rock slider steps and some front & rear recovery points over the last week. I'm pretty happy with how nice the parts are. The rock sliders blend in very well and look almost "stock", but are beefy enough to use as jack points.
The paint and clear thickness is akin to newspaper… Toyota paint was always bad even back in the day, but let me tell you it’s even worse now. Combo that with the brick design and you essentially have a chip magnet. I only touched up the ones that were down to metal.
Anyway, the OEM touch up paint does a decent job but is not 100% match (for Underground). If perfection is something you care about, get a small bottle of color match paint from your local body shop.
Just fast shoddy work. Wet sanded with 2000 grit, OEM color basecoat, 2k clear coat, 2000 grit wet sanded as much excess as I could, polished, waxed. Maybe in 10 years I’ll get a pro to fix 10 years worth of my crappy work
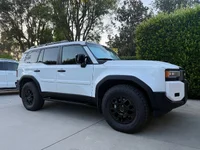
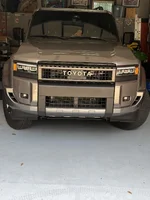
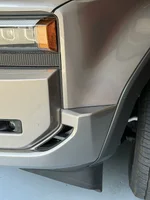
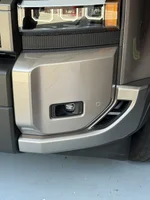
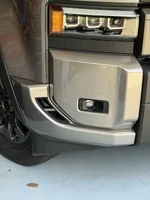
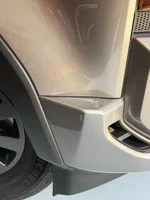
Received and installed the painted bumper panels today, thanks to MSLCFE (Noel Pineda) for selling and sending them out.
They do match, sun and shadows in the pic's show it off a bit, but in person they do match.
Received and installed the painted bumper panels today, thanks to MSLCFE (Noel Pineda) for selling and sending them out.
They do match, sun and shadows in the pic's show it off a bit, but in person they do match.