🛠️ What Have You Done To Your LC250 Today?

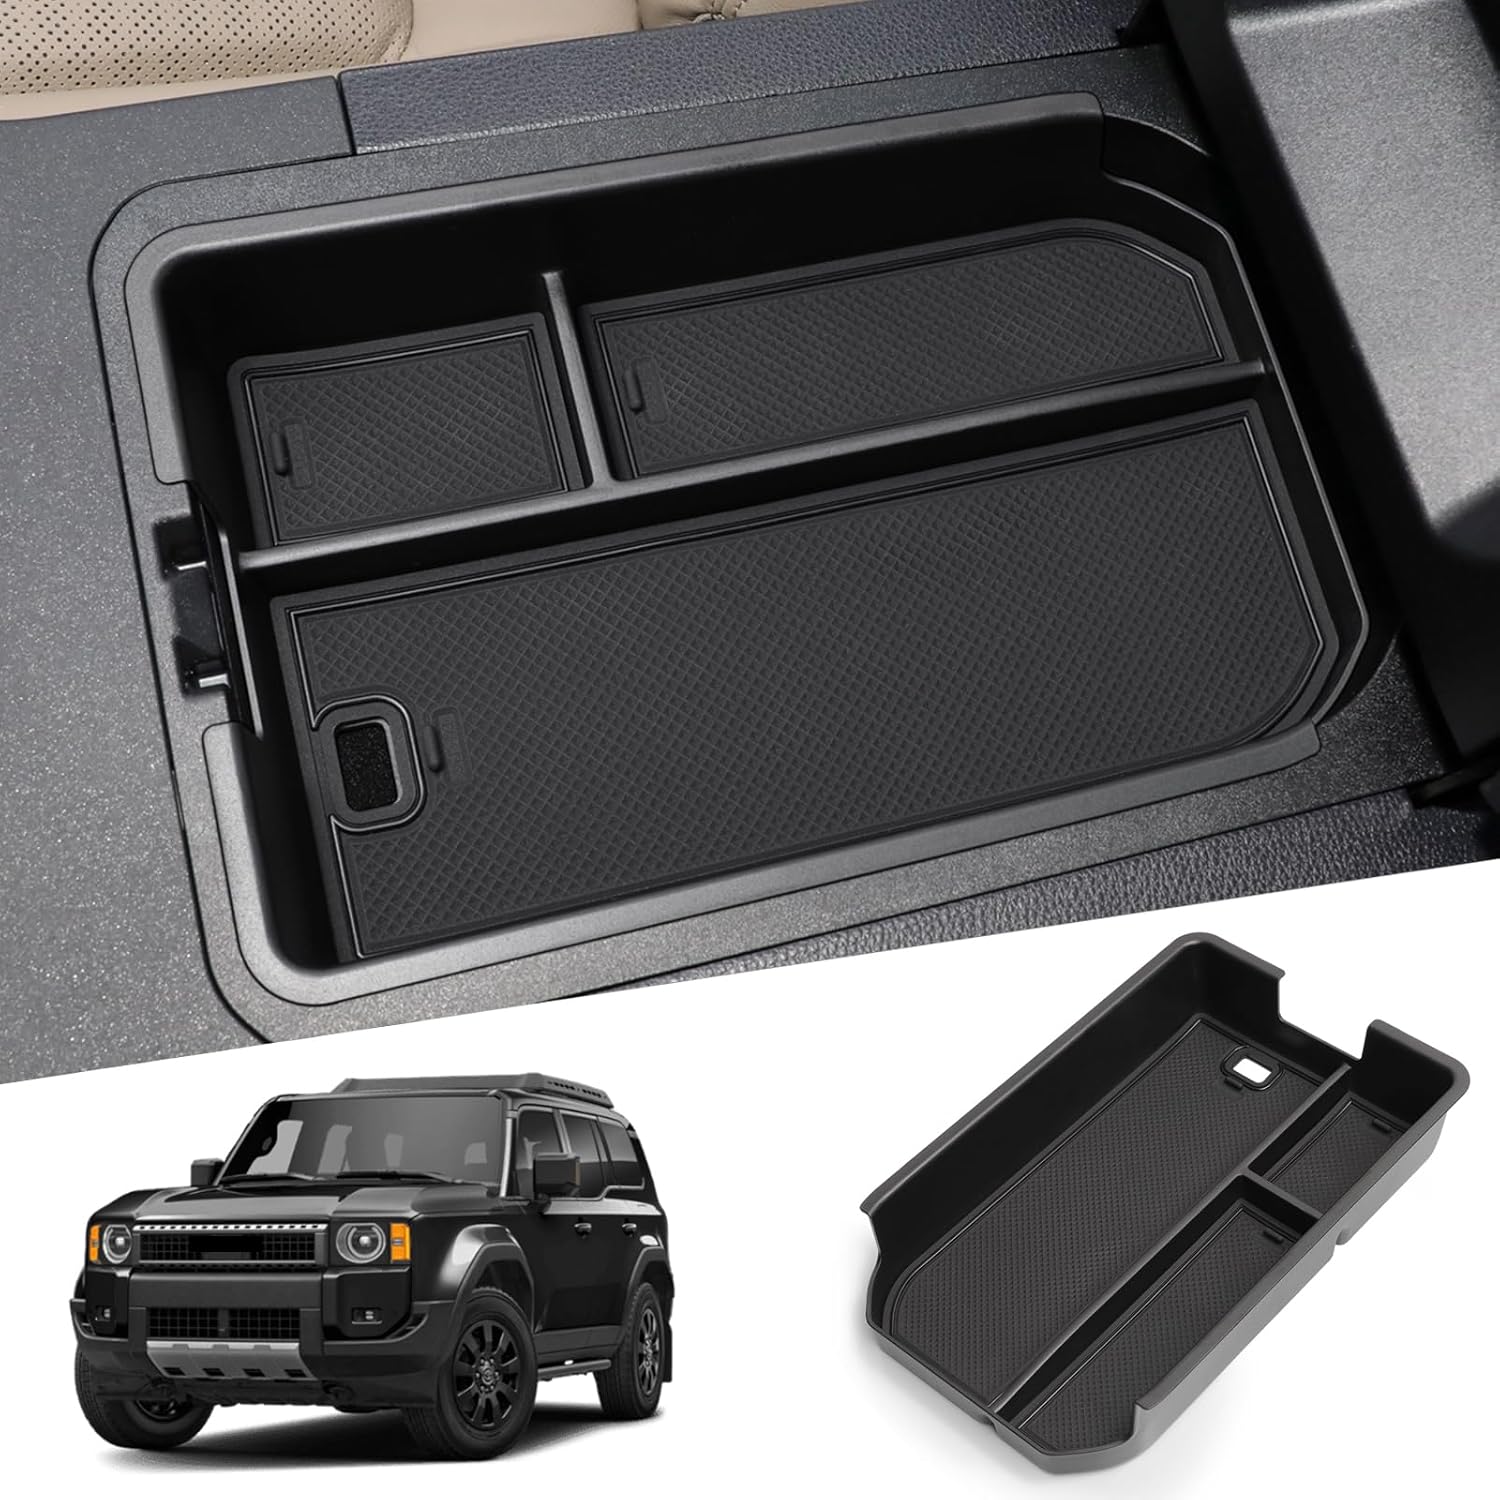
I really like this design. I actually just got done installing the CA Tuned version of this shelf a few minutes ago (will post photos and thoughts later today).

Where does this mount - remove the handles and use those bolt locations?
Yep. You got it. Replaces the third row handles.
 
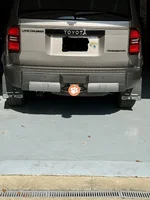
I'm not usually one to debadge my vehicles, nor am I a big fan of the blacked out look. However, as someone who works in brand identity/creative direction/graphic design, I disliked the general design of the iForceMax badge, felt the chrome made it stand out way too much on an otherwise black truck, and the name had a "trying too hard" cheesy faux-aggressive feel to it.

It's 92 degrees, my truck is parked outside because it doesn't fit in the garage. The badge and all the adhesive came off with nothing more than my fingernails. A few minutes with the clay bar and a quick spray of wax - and it's like it never existed.
Man, I wish I still had my apple computer shown in your avatar..
 
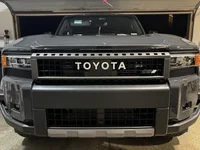
First mod. I don’t want to talk about how long it took but my children are disappointed in my performance.
 

Attachments

  • IMG_2088.webp
    IMG_2088.webp
    157.5 KB · Views: 379
First mod. I don’t want to talk about how long it took but my children are disappointed in my performance.
If you're talking about the tri colored grill badge, that looks good. And if you have the time, I wouldn't mind some details of the install. Especially some do's and don'ts.
 
Added the Pirate Camp Co drop down rear roof parcel shelf. Just what I was looking for. Adds some extra storage and is different than anything else I’ve seen for a rear shelf. Love how it pulls down for easier access and locks back into place when up. I only wish they provided a better handle. The one given is plastic and of lesser quality than the rest of the shelf. Now the shipping cost from Australia…. Well, not great. But worth it to me.

Link: Drop Down Rear Roof Parcel Shelf | Toyota Prado 250
Similar to @cwelroy, yesterday I installed the upper shelf for the cargo area from CATuned. I like the very simple and lightweight design (though I think I prefer the version cwelroy went with). But, like the other CATuned product I purchased (rock sliders), there were significant manufacturing defects in the product (an entire section was missing the powder coating). Due to this, I strongly suggest folks avoid CATuned products until they can resolve their quality control issues (to say nothing of their mediocre customer service).

IMG_0915.webp

IMG_0917.webp


I also installed some Yakima holders (branded as Top Grip in USA and AceO’Spades in Australia) for carrying tools like a full-length shovel or water sports paddles on the roof.

IMG_0918.webp

Ignore my mismatched washers on my crossbars - I’ll get around to those soon.
 
If you're talking about the tri colored grill badge, that looks good. And if you have the time, I wouldn't mind some details of the install. Especially some do's and don'ts.
Figure out where you want to mount the badge before going behind the grill and trying to secure the badge. I did that by inserting the bolts into the badge and placing it through the front of the grill. I decided on a location that allowed the rear bracket to secure across two vertical bars of the grill.

Access to the inside of the grill is what made it difficult for me. Once you remove the plastic cover under the hood you still have louvers that you will need to maneuver around to manipulate the rear bracket, bolts and retaining nuts of the badge. I recommend installing the bolts and nuts to the rear bracket prior to reaching down behind the grill. Dropping a small component down there could be a real problem. From there I would hold the bracket in place with the bolts protruding through the front of the grill so you can seat the bolts into the badge.

Then the real fun begins. Tighten the rear bracket bolts until snug. I used my fingers and the smallest 8mm wrench I had. It was an exercise in patience. Try not to drop anything behind the grill and good luck!

Disclaimer: there could be a much simpler approach but this is how I did it. I hope someone else can chime in with a better method for the sake of the forum.
 
Interesting, Eibach is out now, how do they ride?


Rides just fine, didn't really notice much of a change from stock. Granted, I'd toss out the disclaimer that I dont drive it ton and only spent about 15 minutes in the seat, mostly in stop & go traffic.
 
Figure out where you want to mount the badge before going behind the grill and trying to secure the badge. I did that by inserting the bolts into the badge and placing it through the front of the grill. I decided on a location that allowed the rear bracket to secure across two vertical bars of the grill.

Access to the inside of the grill is what made it difficult for me. Once you remove the plastic cover under the hood you still have louvers that you will need to maneuver around to manipulate the rear bracket, bolts and retaining nuts of the badge. I recommend installing the bolts and nuts to the rear bracket prior to reaching down behind the grill. Dropping a small component down there could be a real problem. From there I would hold the bracket in place with the bolts protruding through the front of the grill so you can seat the bolts into the badge.

Then the real fun begins. Tighten the rear bracket bolts until snug. I used my fingers and the smallest 8mm wrench I had. It was an exercise in patience. Try not to drop anything behind the grill and good luck!

Disclaimer: there could be a much simpler approach but this is how I did it. I hope someone else can chime in with a better method for the sake of the forum.
Yup, about the same here and put a zip tie on the back as well wrapped around the bolts up against back of grill - just for backup
 
Last edited:
Figure out where you want to mount the badge before going behind the grill and trying to secure the badge. I did that by inserting the bolts into the badge and placing it through the front of the grill. I decided on a location that allowed the rear bracket to secure across two vertical bars of the grill.

Access to the inside of the grill is what made it difficult for me. Once you remove the plastic cover under the hood you still have louvers that you will need to maneuver around to manipulate the rear bracket, bolts and retaining nuts of the badge. I recommend installing the bolts and nuts to the rear bracket prior to reaching down behind the grill. Dropping a small component down there could be a real problem. From there I would hold the bracket in place with the bolts protruding through the front of the grill so you can seat the bolts into the badge.

Then the real fun begins. Tighten the rear bracket bolts until snug. I used my fingers and the smallest 8mm wrench I had. It was an exercise in patience. Try not to drop anything behind the grill and good luck!

Disclaimer: there could be a much simpler approach but this is how I did it. I hope someone else can chime in with a better method for the sake of the forum.
Yup, about the same here and put a zip tie on the back as well wrapped around the bolts up against back of grill - just for backup
Thanks guys. Sounds like a chore. I've got the badge on order & don't look forward to doing that.
"Zip Tie" might be another option.
Imagine this: Get two very short machine screws of the matching thread pitch and install them into the back of the badge. Hold the badge in place on the grill temporarily with a piece of masking tape. Now take a black zip tie and start its tail into its head to make a loop. Using needle nose pliers or forceps stick the zip tie through the grill and hook it over both screw heads & zip it tight with needle nose pliers. It might turn out loose & sloppy but I think I'll try it. Of course, there's always the double sided tape option.

Edited: This way doesn't work. I forgot about the black plastic keeper thingy that goes under the nuts from the inside to hold the badge on.
 
Last edited:
Thanks guys. Sounds like a chore. I've got the badge on order & don't look forward to doing that.
"Zip Tie" might be another option.
Imagine this: Get two very short machine screws of the matching thread pitch and install them into the back of the badge. Hold the badge in place on the grill temporarily with a piece of masking tape. Now take a black zip tie and start its tail into its head to make a loop. Using needle nose pliers or forceps stick the zip tie through the grill and hook it over both screw heads & zip it tight with needle nose pliers. It might turn out loose & sloppy but I think I'll try it. Of course, there's always the double sided tape option.
A better option might be "push nuts" which are a spring type washer that Pushes on a bolt/stud and holds really well. a pair of hook nosed/needle nosed pliers can be used to install or a simple "U" tool could be fab'ed as you just need to hold the badge from the front and press the nut on from the rear.

 
Supporting Vendors View all →
StickerFab
Back
Top Bottom