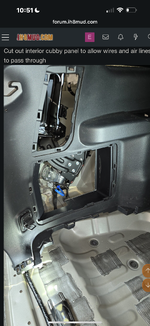
OP
OP
- Thread starter
- Moderator
- #101
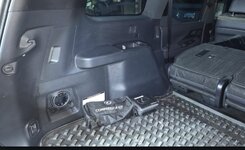
The Yellow wire is tapped into one of the "ACCY" empty fuse slots. The other end is routed to my Aux relay box powering a relay. The output of the relay is routed into the cabin area to a BUSS bar. I use the BUSS bar to power several items inside the cabin ....... all my aftermarket switches, the feed for my radar detector and my "Key on" switch/relay for the air compressor.Would you have some more detail/info on where this yellow wire tapped into?
Thanks
View attachment 30422
If one were only going to power switches (very small load) a relay wouldn't be necessary.