🛠️ Member Build Clarence’s Build

Member Build
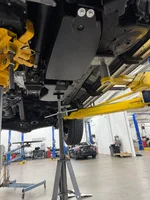
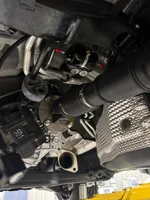
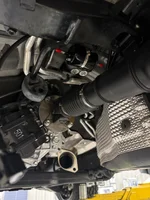
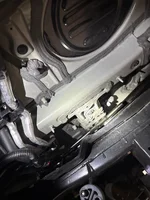
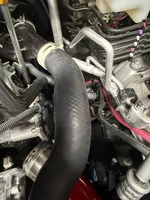
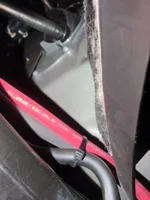
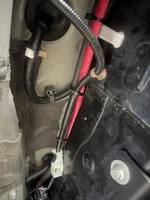
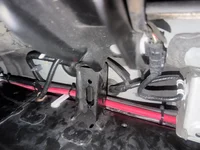
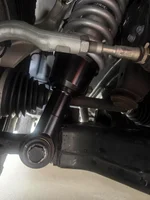
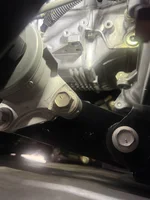
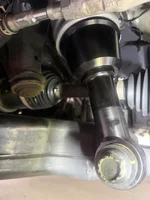
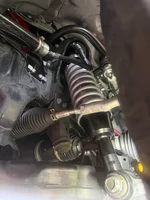
Sorry about the photos, wasn’t thinking about it when I started.
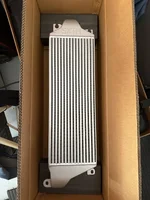
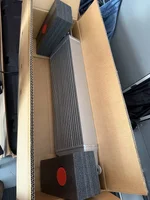
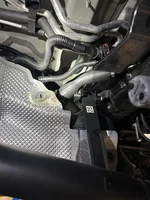
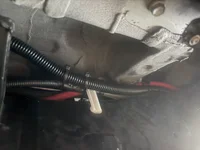
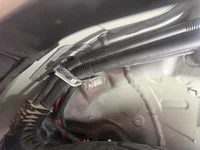
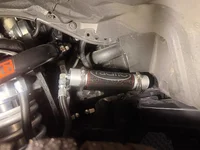
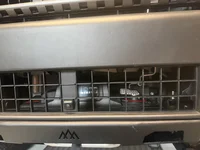
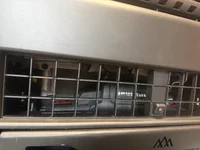
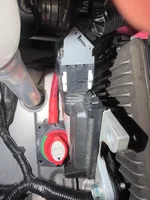
Replaced the intercooler today with one from SXTH ELEMENT,, not hard, took my time and followed the video. It is beefier than OEM and larger, fits OEM location.
Did get skinned up a bit.
 

Attachments

  • IMG_3623.webp
    IMG_3623.webp
    264.5 KB · Views: 177
  • IMG_3621.webp
    IMG_3621.webp
    152.5 KB · Views: 136
  • IMG_3619.webp
    IMG_3619.webp
    233.2 KB · Views: 116
  • IMG_3622.webp
    IMG_3622.webp
    222.5 KB · Views: 120
  • IMG_3618.webp
    IMG_3618.webp
    218.3 KB · Views: 111
  • IMG_3620.webp
    IMG_3620.webp
    116.7 KB · Views: 124
Sorry about the photos, wasn’t thinking about it when I started.
Replaced the intercooler today with one from SXTH ELEMENT,, not hard, took my time and followed the video. It is beefier than OEM and larger, fits OEM location.
Did get skinned up a bit.


I am about to tackle this mod this Sunday. Luckily I will have my brother as a second hand. And recommendations before I dive in? Thanks!
 
Sorry about the photos, wasn’t thinking about it when I started.
Replaced the intercooler today with one from SXTH ELEMENT,, not hard, took my time and followed the video. It is beefier than OEM and larger, fits OEM location.
Did get skinned up a bit.

Is there a particular reason you replaced the IC? I havent monitored intake temps and this piqued my curiosity. Just wondering if you detected heatsoak, or are just upgrading the entire intake circuit.
 
Is there a particular reason you replaced the IC? I havent monitored intake temps and this piqued my curiosity. Just wondering if you detected heatsoak, or are just upgrading the entire intake circuit.
Upgrading and doing the CamTuning
 
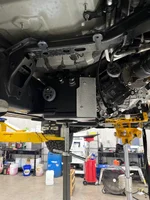
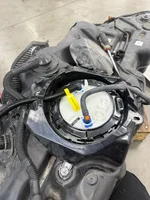
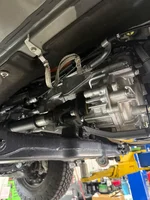
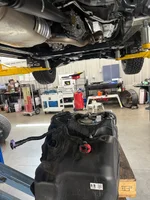
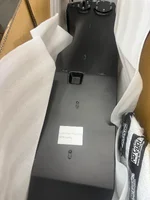
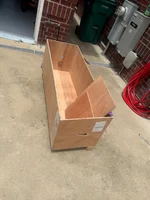
Had the dealer install the 12 gal Aux tank from FK Offroad, so far so good, if you haven” check out

FK 12 Gal Aux Fuel Tank DIY Install here on the forums.​


Attachments

  • IMG_0551.webp
    IMG_0551.webp
    219.4 KB · Views: 105
  • IMG_0550.webp
    IMG_0550.webp
    238.9 KB · Views: 95
  • IMG_0549.webp
    IMG_0549.webp
    183.7 KB · Views: 97
  • IMG_0549.webp
    IMG_0549.webp
    182.5 KB · Views: 86
  • 80359011235__26FAF552-A718-4B6B-9634-E8B6FC73D197.webp
    80359011235__26FAF552-A718-4B6B-9634-E8B6FC73D197.webp
    274 KB · Views: 79
  • 80359009656__316294AA-DE37-453F-AFE8-43504653DEA5.webp
    80359009656__316294AA-DE37-453F-AFE8-43504653DEA5.webp
    323.9 KB · Views: 81
  • IMG_0542.webp
    IMG_0542.webp
    286.1 KB · Views: 77
  • IMG_0536.webp
    IMG_0536.webp
    212 KB · Views: 72
  • IMG_0536.webp
    IMG_0536.webp
    211 KB · Views: 75
  • IMG_0535.webp
    IMG_0535.webp
    206.9 KB · Views: 77
  • IMG_0534.webp
    IMG_0534.webp
    260.5 KB · Views: 80
  • IMG_3712.webp
    IMG_3712.webp
    223.7 KB · Views: 72
  • IMG_3711.webp
    IMG_3711.webp
    429.6 KB · Views: 88
What dealer and how much did they charge?
I can ask the dealer, they cut me a deal to see if this was a service they wanted to offer.
Dealer is Jim Hudson Toyota, Sumter Sc, Service Manager Michael Muldoon (864-918-7012), Master Tech was Danny Philippi and Service Advisor Dana Belangia
 
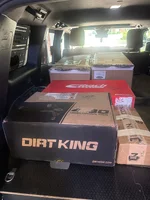
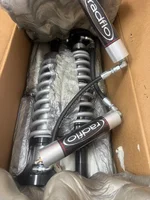
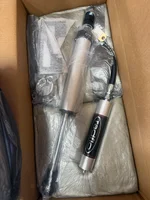
Just ordered my
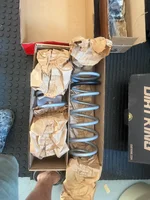
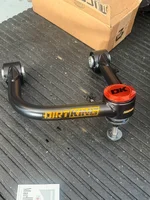
Dirt King 4130 UCA’s
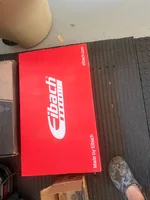
Eibach Rear Springs +500
Radflo/2.5’’/Coilovers (29th for 4th July sale)
Radflo/2.5/Rear Shocks (29th for 4th July sale)
Next waiting on DV8 or C4 front bumper and Badlands winch.
Well in about 3 weeks or so should have installed or inwk
 
Waiting on my front bumper from Backwoods Adventure Mods, waiting also on my wiring to get here, but have the winch and rest of the items for install. Should be here in 2-3 weeks.
 

Attachments

  • IMG_3753.webp
    IMG_3753.webp
    12.1 KB · Views: 72
  • IMG_3752.webp
    IMG_3752.webp
    197 KB · Views: 69
  • IMG_3751.webp
    IMG_3751.webp
    221.9 KB · Views: 76
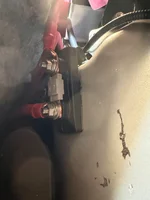
Did the wiring from battery to front, got the mounting shelf/bracket from Fabworks.
Still waiting on the bumper, everything else ready to go.
If you run wiring to the front and plan on doing the 12 gal aux tank, run your wiring first, be less hassle to do so.
IMG_3783.webp
 

Attachments

  • IMG_3829.webp
    IMG_3829.webp
    376 KB · Views: 71
  • IMG_3830.webp
    IMG_3830.webp
    320.6 KB · Views: 63
  • IMG_3831.webp
    IMG_3831.webp
    165.8 KB · Views: 68
  • IMG_3780.webp
    IMG_3780.webp
    246.4 KB · Views: 60
  • IMG_3778.webp
    IMG_3778.webp
    373.9 KB · Views: 62
  • IMG_3777.webp
    IMG_3777.webp
    214.9 KB · Views: 61
  • IMG_3775.webp
    IMG_3775.webp
    234 KB · Views: 57
  • IMG_3774.webp
    IMG_3774.webp
    138.1 KB · Views: 61
  • IMG_3773.webp
    IMG_3773.webp
    122.2 KB · Views: 56
  • IMG_3772.webp
    IMG_3772.webp
    130 KB · Views: 59
  • IMG_3792.webp
    IMG_3792.webp
    180.7 KB · Views: 65
These will be going on Friday.
 

Attachments

  • IMG_3851.webp
    IMG_3851.webp
    314.5 KB · Views: 67
  • IMG_3847.webp
    IMG_3847.webp
    261.5 KB · Views: 57
  • IMG_3848.webp
    IMG_3848.webp
    239.9 KB · Views: 56
  • IMG_3767.webp
    IMG_3767.webp
    164 KB · Views: 52
  • IMG_3766.webp
    IMG_3766.webp
    221.3 KB · Views: 54
  • IMG_3757.webp
    IMG_3757.webp
    343.6 KB · Views: 53
  • IMG_3732.webp
    IMG_3732.webp
    7.4 KB · Views: 65
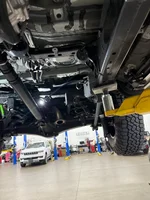
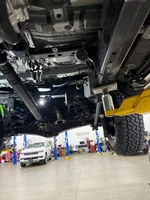
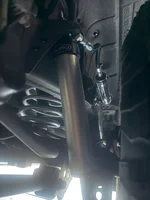
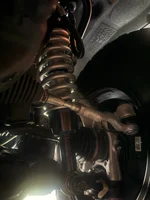
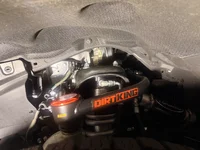
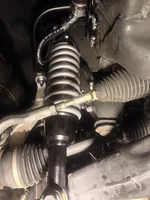
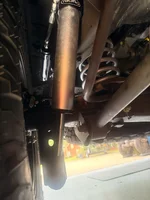
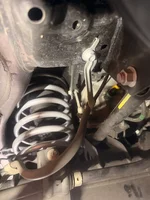
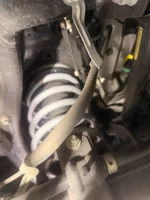
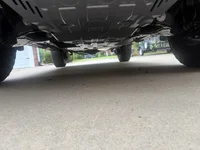
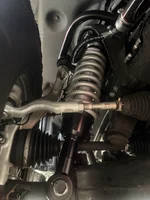
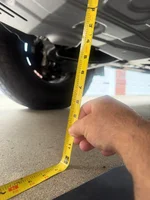
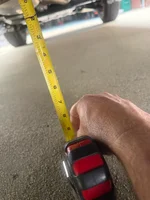
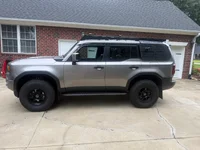
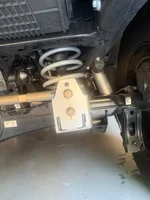
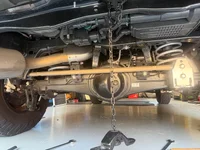
Just got the Radflo Coilovers, Rear Shocks, DirtKing UCA, Eibach Rear Springs and Icon Diff drop. Didn’t get great pic before darkerness settled in, but seems to me there is allot more ground clearance, the CV Axles are level or straight across from diff, so highly recommend doing that. Will get better pic’s in day light. Got some better pics. Clearance from ground to skid plate is 12” , rear diff to ground is 10’’
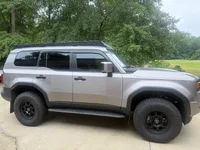
Really like the stance now.
 

Attachments

  • IMG_3856.webp
    IMG_3856.webp
    142.6 KB · Views: 48
  • IMG_3858.webp
    IMG_3858.webp
    115.9 KB · Views: 45
  • IMG_3862.webp
    IMG_3862.webp
    178.4 KB · Views: 43
  • IMG_3863.webp
    IMG_3863.webp
    141.1 KB · Views: 45
  • IMG_3864.webp
    IMG_3864.webp
    196.9 KB · Views: 41
  • IMG_3867.webp
    IMG_3867.webp
    137 KB · Views: 42
  • IMG_3869.webp
    IMG_3869.webp
    164.8 KB · Views: 41
  • IMG_3870.webp
    IMG_3870.webp
    117.5 KB · Views: 40
  • IMG_3886.webp
    IMG_3886.webp
    152.5 KB · Views: 41
  • IMG_3887.webp
    IMG_3887.webp
    153.3 KB · Views: 43
  • IMG_3888.webp
    IMG_3888.webp
    114.3 KB · Views: 43
  • IMG_3889.webp
    IMG_3889.webp
    135 KB · Views: 47
  • IMG_3890.webp
    IMG_3890.webp
    137.5 KB · Views: 45
  • IMG_3891.webp
    IMG_3891.webp
    183.8 KB · Views: 47
  • IMG_3892.webp
    IMG_3892.webp
    192.7 KB · Views: 49
  • IMG_3893.webp
    IMG_3893.webp
    176.8 KB · Views: 72
  • IMG_3895.webp
    IMG_3895.webp
    266 KB · Views: 76
  • IMG_3896.webp
    IMG_3896.webp
    306.6 KB · Views: 89
Last edited:
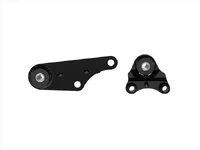
It took me longer to get the tire down and back up than to install the Toyota KDSS Suspension Parts & Upgrades kit. Had to do their blemish’d ones, bit cheaper, nothing u can see. Levels the sway bar, instead being either to high or to low. I went with the standard kit instead of shorty kit, just use bottom hole.
 

Attachments

  • IMG_3915.webp
    IMG_3915.webp
    179.7 KB · Views: 74
  • IMG_3916.webp
    IMG_3916.webp
    213.7 KB · Views: 76
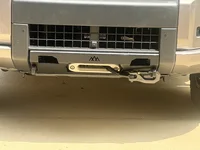
Bad at getting pictures during install, got the hybrid bumper from Toyota Land Cruiser 250 Accessories | Backwoods Adventure Mods
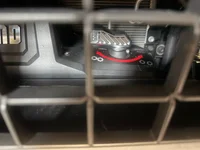
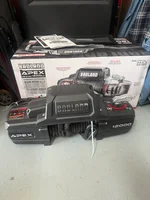
Bought the Badlands 12K pounds wench on sale at Harbor Freight
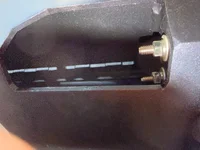
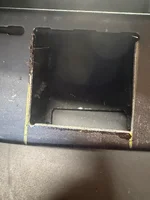
Cut me a square so I could reach the wench controls. It was in the Aluminum outer shell, can’t see it unless u know it’s there.
 

Attachments

  • IMG_3946.webp
    IMG_3946.webp
    102.9 KB · Views: 54
  • IMG_3945.webp
    IMG_3945.webp
    375.6 KB · Views: 45
  • IMG_3943.webp
    IMG_3943.webp
    150.9 KB · Views: 47
  • IMG_3942.webp
    IMG_3942.webp
    113.6 KB · Views: 50
  • IMG_3954.webp
    IMG_3954.webp
    168.1 KB · Views: 43
  • IMG_3949.webp
    IMG_3949.webp
    330.5 KB · Views: 47
Last edited:
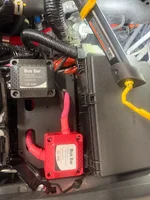
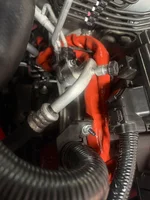
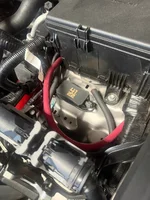
Seen that EOD GUY had done this, gotta run the electrical, then that will be done
 

Attachments

  • IMG_3953.webp
    IMG_3953.webp
    231.3 KB · Views: 44
  • IMG_3952.webp
    IMG_3952.webp
    222.6 KB · Views: 45
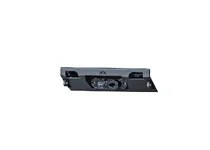
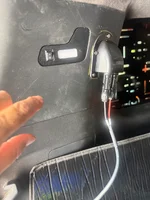
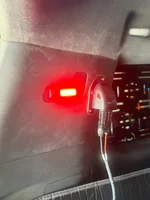
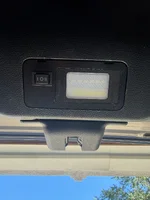
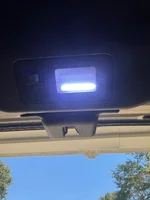
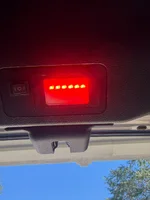
Just installed the ObiSan3D interior light and hatch light.
 

Attachments

  • IMG_4055.webp
    IMG_4055.webp
    267.3 KB · Views: 17
  • IMG_4056.webp
    IMG_4056.webp
    290.7 KB · Views: 17
  • IMG_4057.webp
    IMG_4057.webp
    356.9 KB · Views: 18
  • IMG_4058.webp
    IMG_4058.webp
    158.6 KB · Views: 15
  • IMG_4059.webp
    IMG_4059.webp
    204.3 KB · Views: 18
Back
Top Bottom